Getting Started
This guide walks you through deploying GitEcho and running your first backup.
Prerequisites
- Docker (with Docker Compose v2 recommended)
- A Personal Access Token (PAT) for at least one provider (GitHub, Azure DevOps, or GitLab)
- A terminal to generate the required
MASTER_KEY
Step 1: Generate a Master Key
GitEcho encrypts all stored secrets (admin password, PATs, SMTP credentials) with a master key. Generate one:
Warning
Keep this key safe. If you lose it, all secrets stored via the UI are unrecoverable. Back it up alongside your other credentials.
Step 2: Start the Container
Create a docker-compose.yml:
services:
  gitecho:
    image: ghcr.io/tobihochzwei/gitecho:latest
    container_name: gitecho
    restart: unless-stopped
    ports:
      - "3000:3000"
    environment:
      MASTER_KEY: "your-64-hex-char-key-here"
    volumes:
      - gitecho-data:/data
      - gitecho-config:/config
      - gitecho-backups:/backups

volumes:
  gitecho-data:
  gitecho-config:
  gitecho-backups:
Then start it:
Step 3: First Login
- Open http://localhost:3000 in your browser
-
Sign in with the default credentials:
admin/admin
-
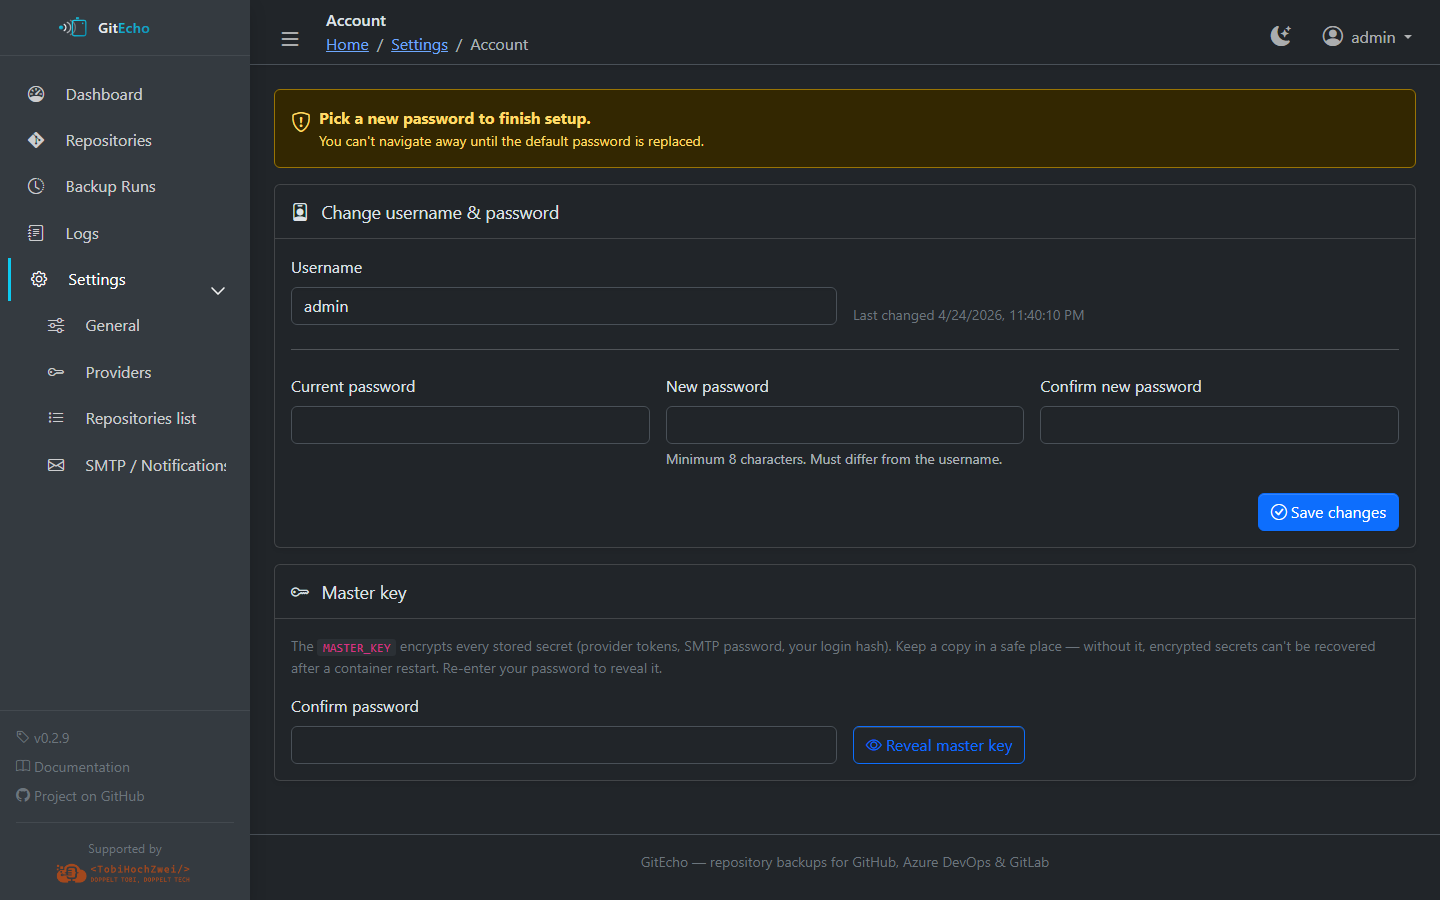
You will be forced to change your password before you can access anything else — choose a strong password (minimum 8 characters)
Step 4: Configure a Provider
- Navigate to Settings → Providers
- Enter your PAT for at least one provider (GitHub, Azure DevOps, or GitLab)
- Set the PAT expiration date so GitEcho can warn you before it expires
- Click Test connection to verify it works
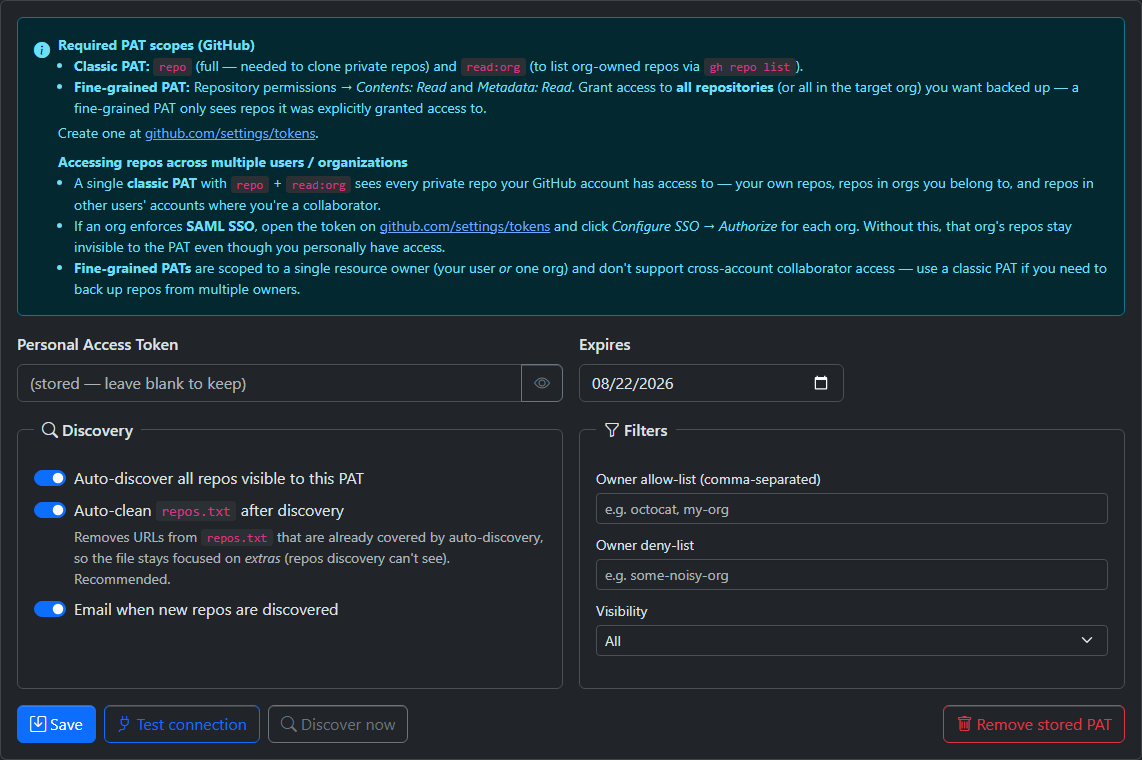
For detailed PAT scope requirements, see the Providers section.
Step 5: Run Your First Backup
You can either:
- Wait for the cron schedule — by default, backups run daily at 2:00 AM UTC
- Trigger manually — go to Settings → General and click Run backup
After the backup completes, visit the Dashboard (/) to see the results, or check Runs (/runs) for the detailed per-repository breakdown.
Step 6: Verify
-
Check the Dashboard — it should show a green background indicating a successful backup within the last 24 hours
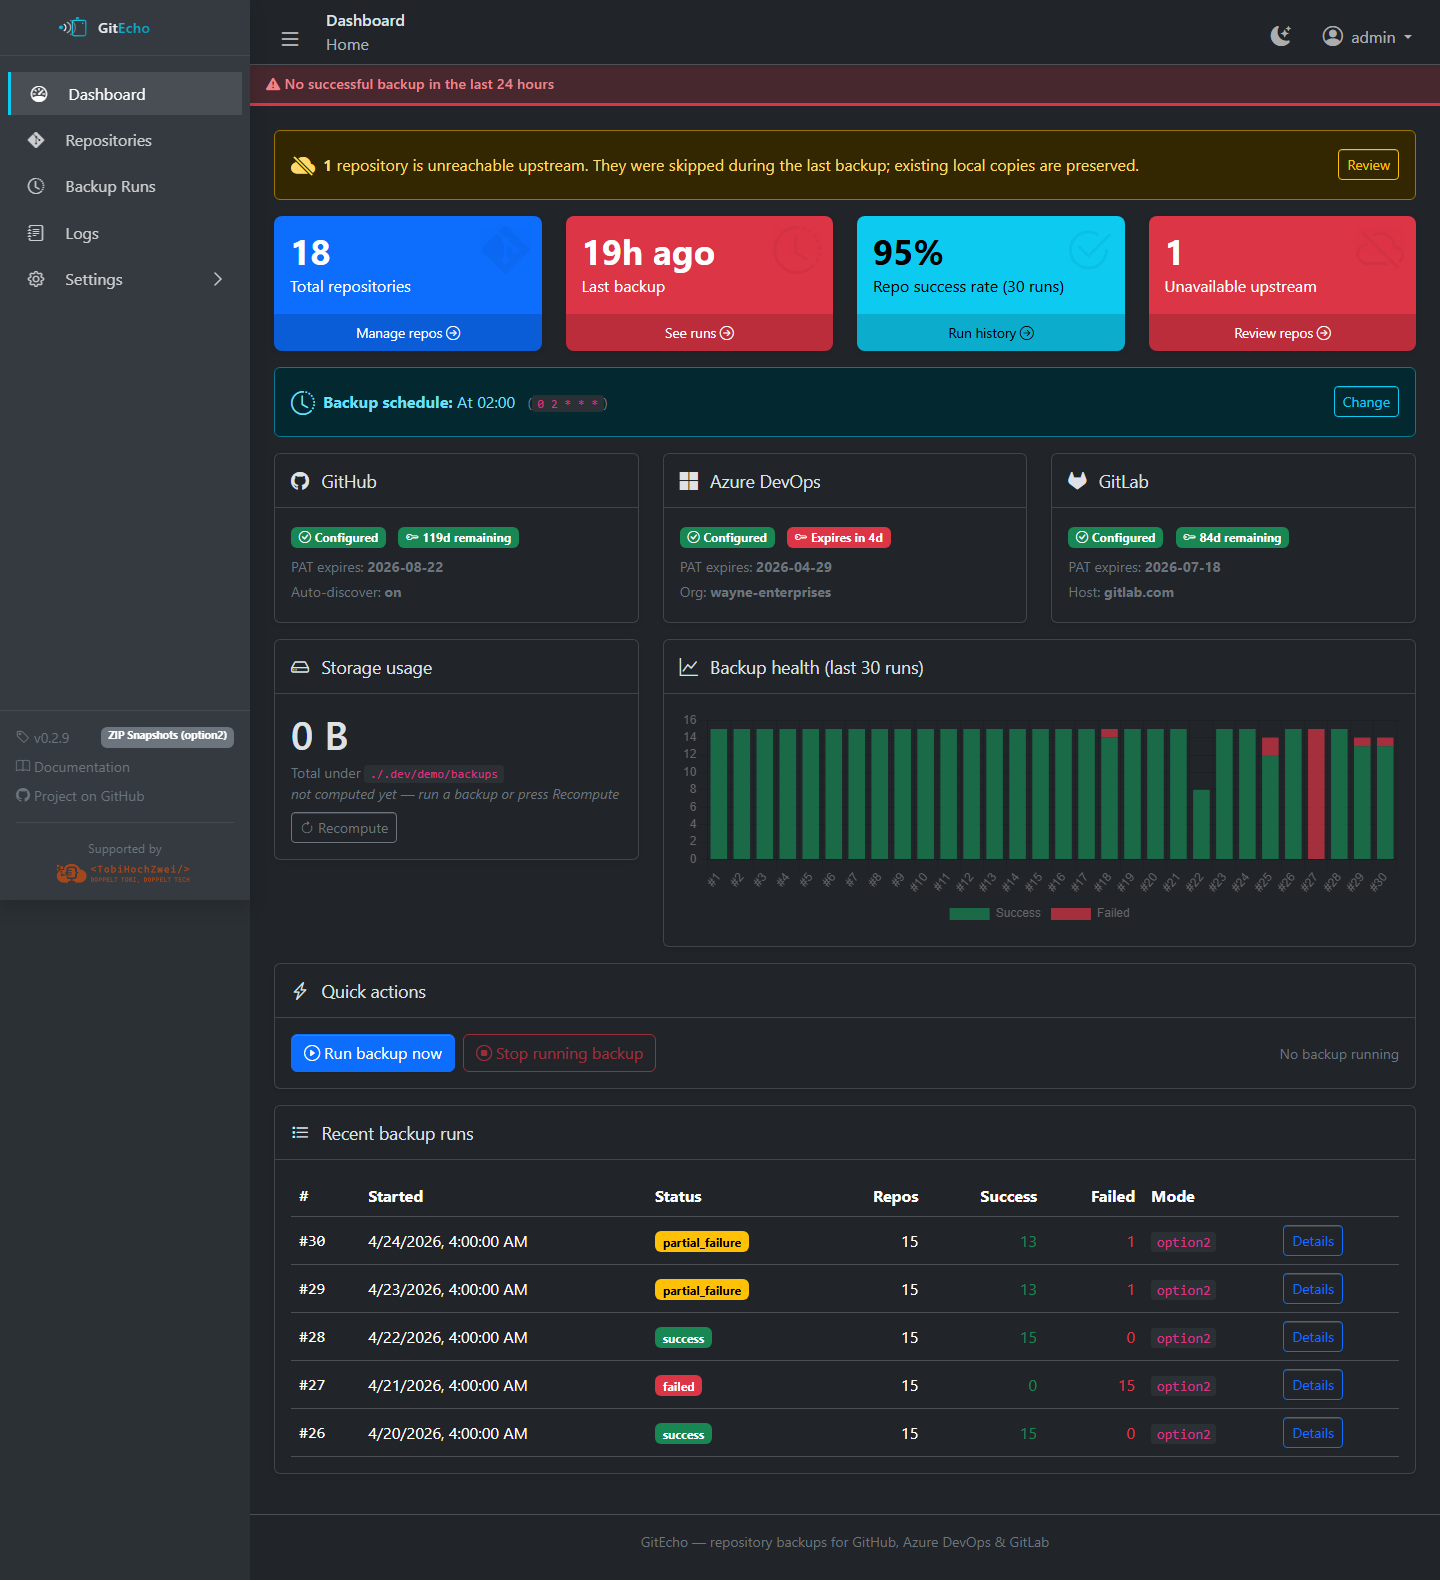
-
Visit Repositories (
/repos) to see all discovered and backed-up repos - If using option1 (git pull), try Browse on a repository to navigate its files
- If using option2 or option3, check ZIP archives for the stored snapshots
What's Next?
- Choose a backup mode that fits your needs
- Configure email notifications for alerts
- Set up a reverse proxy for production use
- Explore the Web UI to learn about all available pages